Use VidGetter to save videos from your own YouTube channel to a computer, from installing the client to organizing a batch archive. Identify the available media, compare picture quality and audio, build a download queue, and check the files one by one.
After a few years, a channel can accumulate dozens or even hundreds of videos. Those finished videos are both creative work and source material. If you want to reuse clips in editing software, publish them on another platform, or keep an archive that doesn't depend on an internet connection, you need actual files on your computer. VidGetter lets you identify media, choose versions, download in batches, and organize a local archive in one desktop workflow.
VidGetter is a local-first desktop video downloader and media manager for Windows 10/11 and macOS. This guide follows the practical steps, from installing the client to checking files before archiving them.
Why keep a local copy?
You can open a video on the channel page whenever you like, but “whenever” depends on a working network, an active account, and the video still being online. A backup isn't about preparing for one specific disaster; it keeps control of your content in your own hands.
A local copy has at least three uses. You can watch older work without waiting for buffering. When editing, you can drag the file into a project instead of converting it first. When moving to another platform, you have a finished video and don't need to export it again. Captions, cover images, and descriptions are worth keeping too; they're easily missed when reposting.
Step 1: Download and install VidGetter
Open the VidGetter download page and choose the version for your computer: Windows 10/11 or macOS. Once installed, open the client and get started. No separate browser extension is needed.
First, choose where to save the files. Create a dedicated folder, such as Channel backup/2026/, then make subfolders for each series or project. Once you choose a save location, later downloads can use it too, so you won't have to hunt for files during archiving.
Step 2: Let the client identify channel videos
VidGetter gives you two ways to get started: open the channel page in the client's built-in browser, or copy and paste a link to a specific video's page. Both work with public pages; you don't need to sign in to the video website inside the client.
After identification, the client lists the available media on the page. It can identify MP4, HLS, DASH, audio, subtitles, and live streams. Don't rush to download. Check the title and duration in the list first to confirm you've picked the right version. A video may have several versions at different resolutions or with different audio tracks, and episodes with similar titles are easy to mix up.
If several people manage the channel, confirm which videos are yours before processing a batch. That helps prevent someone else's material from ending up in your folder.
Step 3: Compare versions before downloading
This is the step worth spending an extra minute on. Before you download, VidGetter shows the resolutions, formats, audio tracks, subtitles, durations, and estimated file sizes the source actually offers. Choose based on how you plan to use the video, rather than always selecting the highest quality.
| Backup purpose | What to choose | What to check afterward |
|---|---|---|
| Long-term archive | Highest available resolution and complete audio | Picture detail and whether the sound is complete |
| Further editing | MP4 compatible with your editing software | Whether it imports directly into the timeline |
| Audio only | Audio track | Speech clarity and duration |
| Subtitles needed | Version with a subtitle file | Subtitle language and timing |
If you need a video both for archiving and editing clips, keep a copy for each purpose or save one high-spec version and transcode it when you edit. File sizes can differ considerably, so factor in available disk space.
Step 4: Process a series in the download queue
Downloading dozens of videos one at a time takes a while. A queue can turn it into one workflow. Add selected items, multiple media files, or a whole playlist to the queue. Check progress as they download, and resume after an interruption instead of starting over.
A few useful habits:
- Process a series or playlist as a batch and give that batch its own folder.
- Put the date and series in filenames, for example
2026-03-tutorial-cover-design, so you can find the files later. - Schedule long videos during quiet hours. A series with episodes lasting tens of minutes is well suited to an overnight queue.
- Don't add hundreds of items at once. Finish a batch, check it, and then add the next one.
Step 5: Check files after downloading
A completed download is not the same as a completed backup. Spot-check examples from three groups: the earliest releases, the latest releases, and the longest videos. Check two or three from each group and confirm four things:
- The video plays properly without visual artifacts or a black screen.
- Its resolution matches what the channel page showed.
- The audio is complete, with no unexpected silence or synchronization problem.
- Its duration matches the duration shown on the page.
Use both the file properties and actual playback when checking. The resolution shown by the player and the audio-track information are more reliable than the filename. VidGetter's local media library and download history record the source, date, format, and save location. It's quicker to check there for missing files than to search through folders. Add anything missing to the queue again.
If you already have an export, use both methods
If you've used Google's data export service, you may already have a set of archives. Exported videos may be in their original upload format or transcoded to MP4. Check the encoding and resolution in the actual files (see Google's data export help). This approach works well for a whole-account migration and often includes metadata, subtitles, and thumbnails.
| Comparison | Data export service | Downloading individual videos with VidGetter |
|---|---|---|
| Best for | Moving an entire account and bulk metadata | Archiving by series and choosing a specific version |
| Version control | Chosen by the service | Compare resolution and audio before downloading |
| Timing | Request an export, wait for preparation, then retrieve it in batches | Start right away and resume after an interruption |
| Organizing files | Re-sort after extracting | Save directly to the target folder |
The two approaches can work together: use data export for the complete account and metadata, then use VidGetter to add a video that's missing from the export or needs a specific resolution or separate audio track. Label the source in your archive so you don't confuse two copies of the same video.
Saving live streams and time-limited content
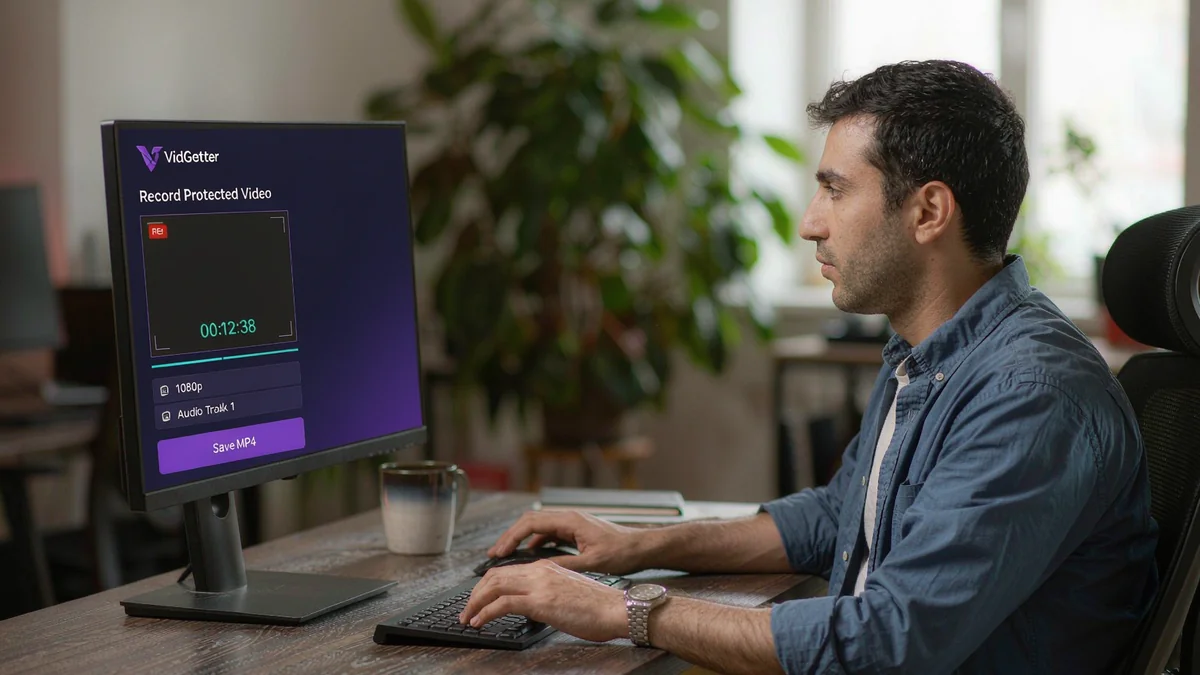
Once a live stream has ended or time-limited content is no longer public, it can be difficult to find again if you didn't save it. VidGetter's recording feature can record live streams and DRM video while the content is still available. Consider planning ahead for one-time events such as performances, live conversations, and launches.
Frequently asked questions
Can I back up videos that aren't mine?
We recommend processing your own content, or content you have permission to save when its source allows it. If a clip includes collaborators or third-party music, check the scope of your permission separately.
How often should I back up my channel?
Set a schedule based on how often you publish. If you upload frequently, a quarterly backup is a reasonable routine; you can also archive important series separately after publishing.
What happens when I change computers?
Copy the whole save folder to the new computer. After installing VidGetter, point its default save location to the existing folder. The media library and history will be available with the directory.
Do I need a browser extension?
No. Open the public page in the client's built-in browser or paste in the video link.
Start organizing now
The value of a channel's content grows over the years. The sooner you make backups a habit, the easier they are to maintain. Install VidGetter from the download page and start with one series: identify the media, choose a version, queue the downloads, and check the files. Once you've completed one round, repeat the same steps for the rest.